The Gift of South Dakota
Subscriptions to South Dakota Magazine make great gifts!
Subscribe today — 1 year (6 issues) is just $29!
Working the Sun in Your Shots
Nov 22, 2011
Probably from the time we were kids having to pose for family snapshots, we’ve been taught that a photographer should have the sun behind him shining on the subject of his photos. While that’s a good rule of thumb to begin with, it’s not always the way to make the best image of a particular scene.
So how do you break that rule and use the result to your advantage?
First, having the sun behind you will result in some fairly flat lighting in most cases. Shooting at an angle to the sun, where it is to the left or right of the camera position will let shadows will form and give a more rounded “3-D” feel to your subject matter. This works for photos of people, your car, rock formations, wildlife, whatever.
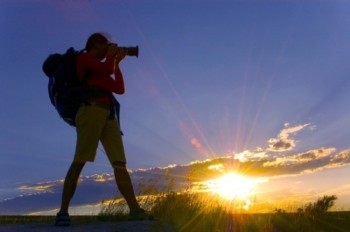
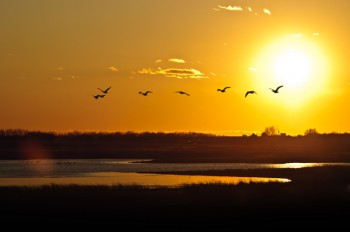
Time of day affects that angle as well. The lower the sun is to the horizon the more dimensional shadows it will provide and also change color very early or very late. Sunrises and sunsets can be spectacular with oranges and yellows streaking across the landscape. Many photos at that time of day are taken with the camera pointed directly at the sun. Don’t forget to turn around and see what that beautiful light is hitting. (Which is good photographic advice all the time — take a look behind you.)
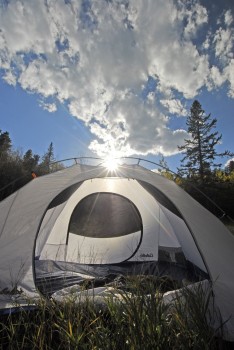
Placing the sun within your photo is very fun when appropriate. Realize the camera is going to see that huge bright spot and want to darken the scene or underexpose it. The camera meter will most likely create darkened silhouettes against a bright sun. Quite often that’s okay and exactly what makes a great photo, but if that’s not what you want you will have to adjust for it.
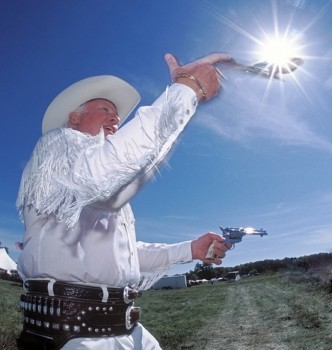
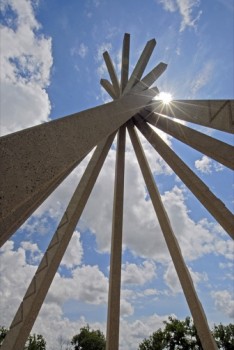
A fun tip is that smaller apertures like f/16 or f/22 will create starbursts from bright points of light. Whether it’s the sun, street lamps or Christmas lights it can add “sparkle” to your photos. It can also be overpowering if there are too many points of light in your image.
When you want that starburst from the sun, placing the sun partially behind something helps make it a smaller point of light and creates a larger star shape. A tree branch, rock or building works well for this.
With a little thought and creativity applied, working the sun around and into your photos can improve a lot of scenes. Just be careful not to look directly at the sun, especially through a camera lens that’s focusing it into an even narrower beam of light into your eye. Also using a lens hood or shading the lens with your hand will help control reflections or “lens flare.”
Chad Coppess is the senior photographer at the South Dakota Department of Tourism. He lives in Pierre with his wife, Lisa. To view more of his work, visit www.dakotagraph.com.










Comments